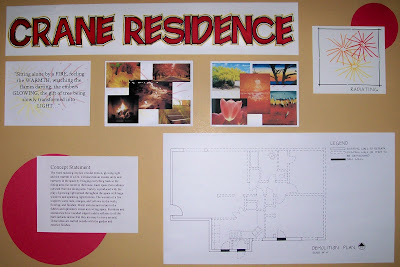
Here is the final presentation for the Crane Residence. I began by choosing a quote and then finding images which
represent what the quote means to me. From this I created a
parti drawing and came up with a concept word- Radiating. From this word I was able to write my concept statement and base my entire design. By going through this process I
developed skills in the design process.
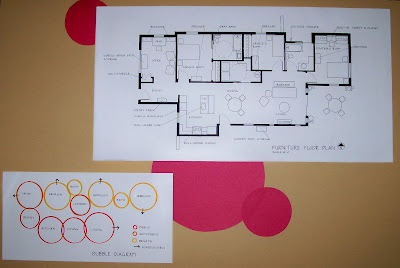
Based on my concept, I was then able to create a floor plan taking into considerations all the client needs and wants. A space
analysis and bubble diagram helped me work out an effective floor plan.
From the floor plan, I then drew out elevations and perspectives to see how the space will look and feel in a more three
dimensional form. I then picked materials and finishes for each space. Doing this helped me learn the requirements for ADA and universal design and also helped my hand drafting and rendering skills.
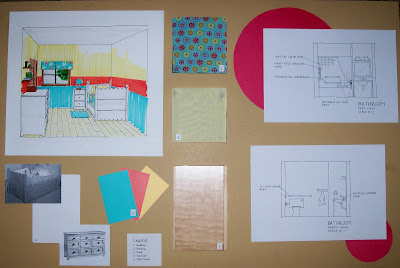
Each space had different elements that I needed to consider especially because one of the clients is in a wheel chair. This
improved my skills of being able to think about many details at once and how one element may affect another.


 Here is an overall view of the main dining area of my cafe. The partitions seen here are based on the pattern created from my inspiration piece. This view also helps to show the overall volumn of the large space.


 Based on my concept, I was then able to create a floor plan taking into considerations all the client needs and wants. A space analysis and bubble diagram helped me work out an effective floor plan.
 From the floor plan, I then drew out elevations and perspectives to see how the space will look and feel in a more three dimensional form. I then picked materials and finishes for each space. Doing this helped me learn the requirements for ADA and universal design and also helped my hand drafting and rendering skills.


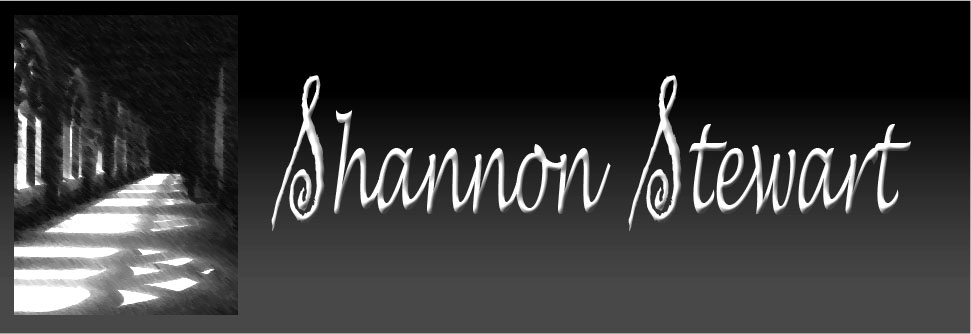
 Here is a complete room rendering done by using all the skills previously learned. The drawing uses Good Graphics such as professional dot and gap, free hand line, and hit-go-hit. In the rendering I used plane change, color mixing, and white space to achieve a realistic space. Although my skills are improving I still need to work on mixing colors and creating shadows in the space. My goal is to keep working on these skills to create renderings that show the space I have designed clearly as well as artisticly.
 This images show both lettering and rendering techniques. The hand drafted letters are easy to read and are given some visual interest the colors. These skills are important so that your ideas come across clearly and are easy to read. The lettering could use some work making the letters uniform and all the same thickness. The rendering improved my skills of blending the markers and creating value change through a number of different techniques.
